Getting Started: Ready to Go in Minutes
Informationen zum Artikel

Autor: Dmitry Dugarev
Welcome to DolmiDesk™! 🎉
DolmiDesk™ runs right in your browser. There's nothing to install, nothing to update, and no extension to set up – you just log in and get going. Plan for about ten minutes for the initial setup.
Logging In
DolmiDesk™ accounts are created by invitation. You'll get an email with a link that lets you set your own password. After that, you can log in anytime at app.dolmidesk.com – from your computer, tablet, or phone.
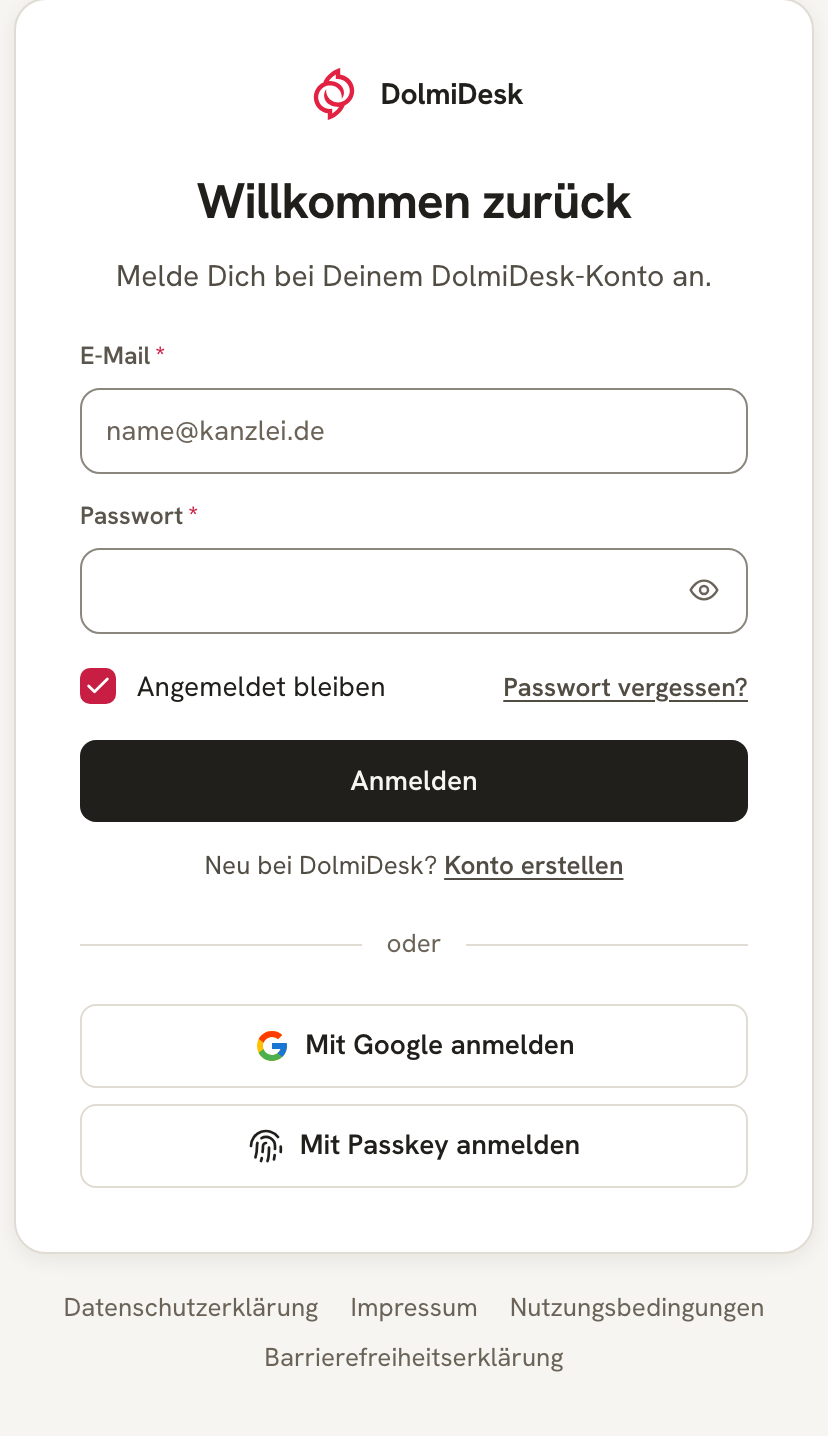
Check Angemeldet bleiben (Stay logged in) if you're working on your own device – then you won't have to log in again every time you visit.
Completing the Initial Setup
On your first login, the Einrichtungsassistent opens as soon as you've made your cookie selection. It asks for exactly the information without which no valid invoice can be written – and explains at every field what it's needed for.
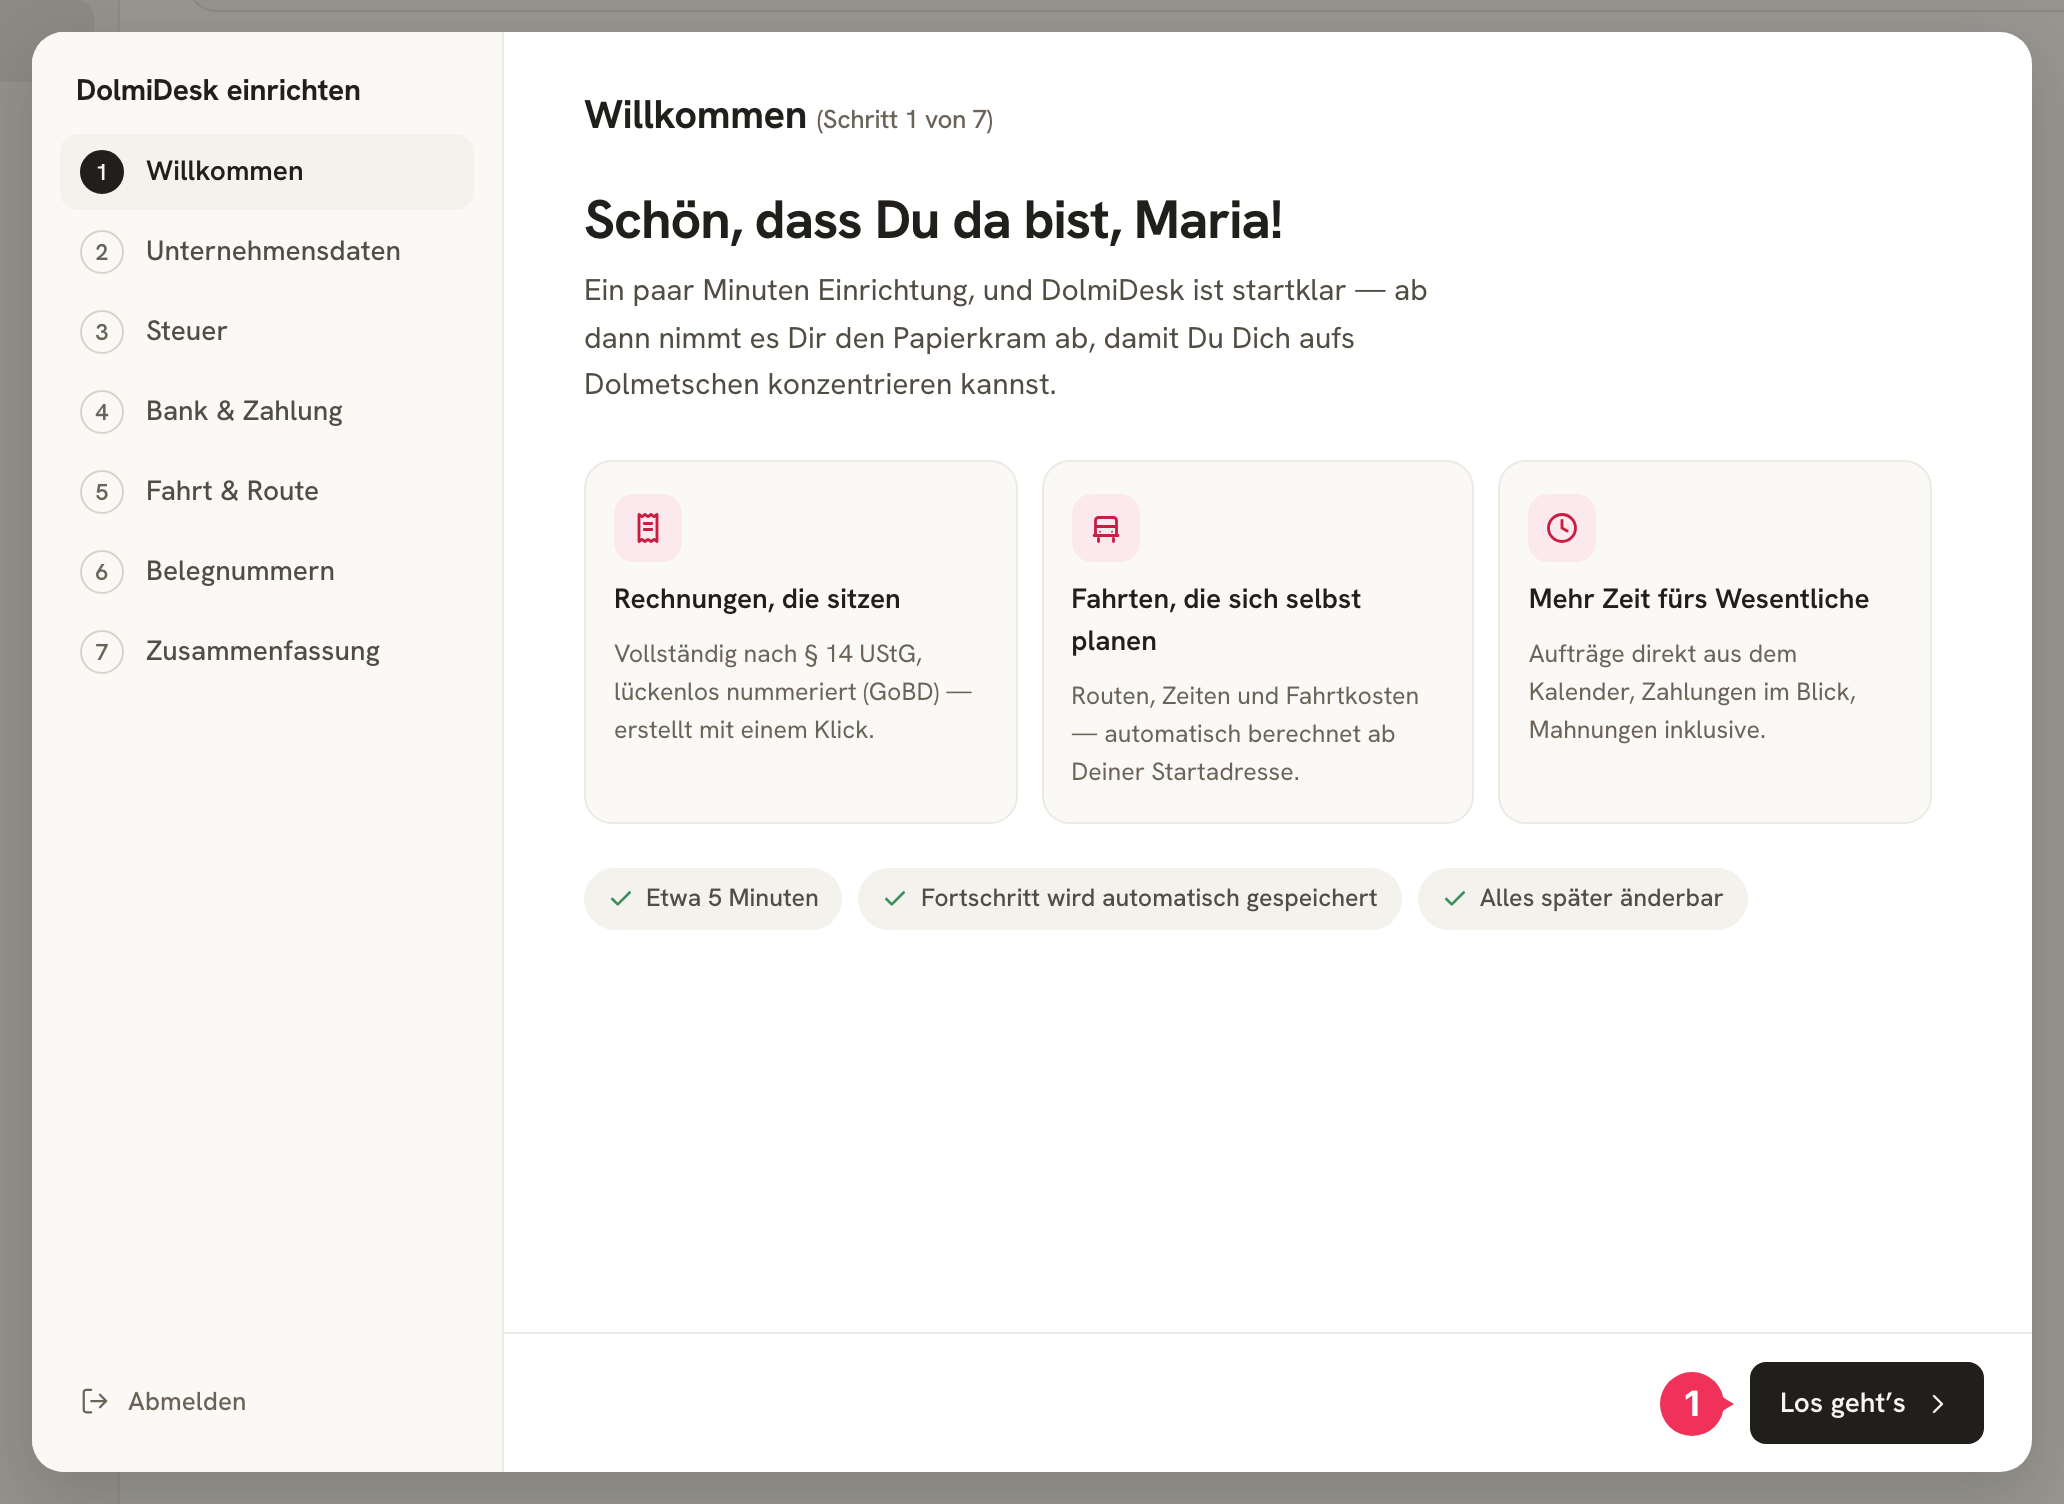
- Click Los geht's.
The wizard then guides you through six steps:
| Step | What's Requested | What It's For |
|---|---|---|
| Unternehmensdaten | Name, address, email, optionally company and phone number | The letterhead on every invoice – a mandatory item under § 14 UStG |
| Steuer | VAT mode, tax number, optionally VAT ID (USt-IdNr.) | Determines whether invoices show 19% VAT or 0% with the required legal note |
| Bank & Zahlung | Account holder, bank, IBAN, BIC, default payment term | Without your bank details, no one can transfer your fee |
| Fahrt & Route | Starting address, default mode of transport, Deutschland-Ticket | The start and destination of every trip; the basis for calculating travel costs |
| Belegnummern | Formats for invoice, cancellation, correction, and order numbers | Continuous, gapless numbering as required by the GoBD |
| Zusammenfassung | All details at a glance | Final check before you finish |
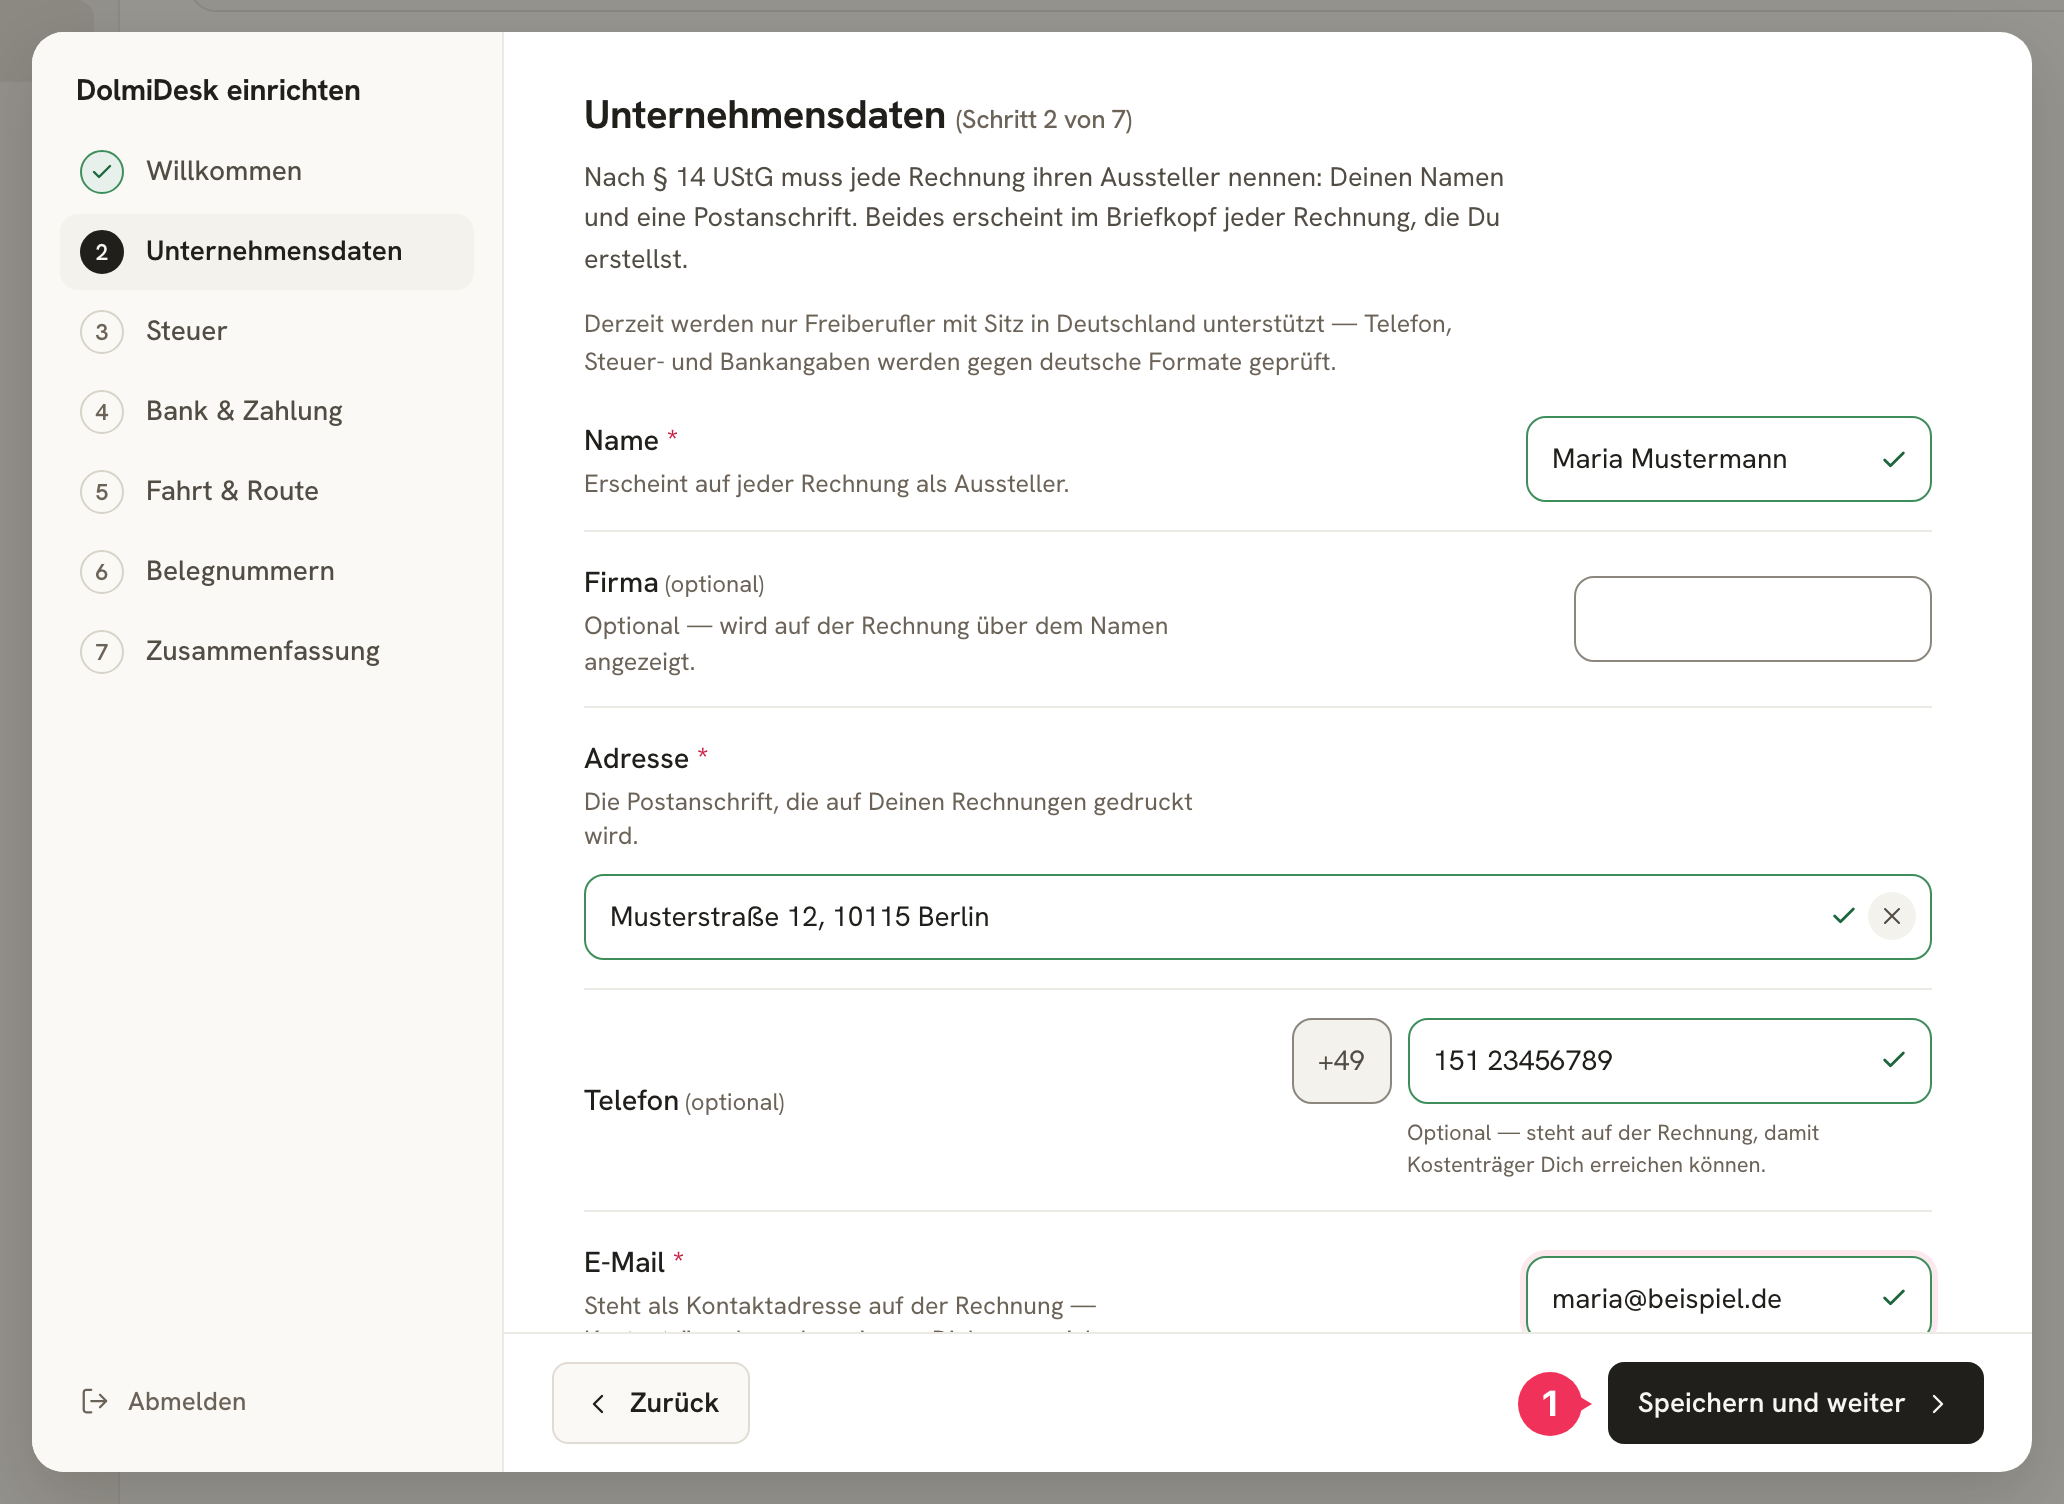
- Fill in the fields and click Speichern und weiter.
Your progress is saved at every step. So you can pause the setup at any point – the next time you log in, it picks up exactly where you left off. If a required field is missing or a format doesn't match, the step won't let you move on and the affected field is highlighted.
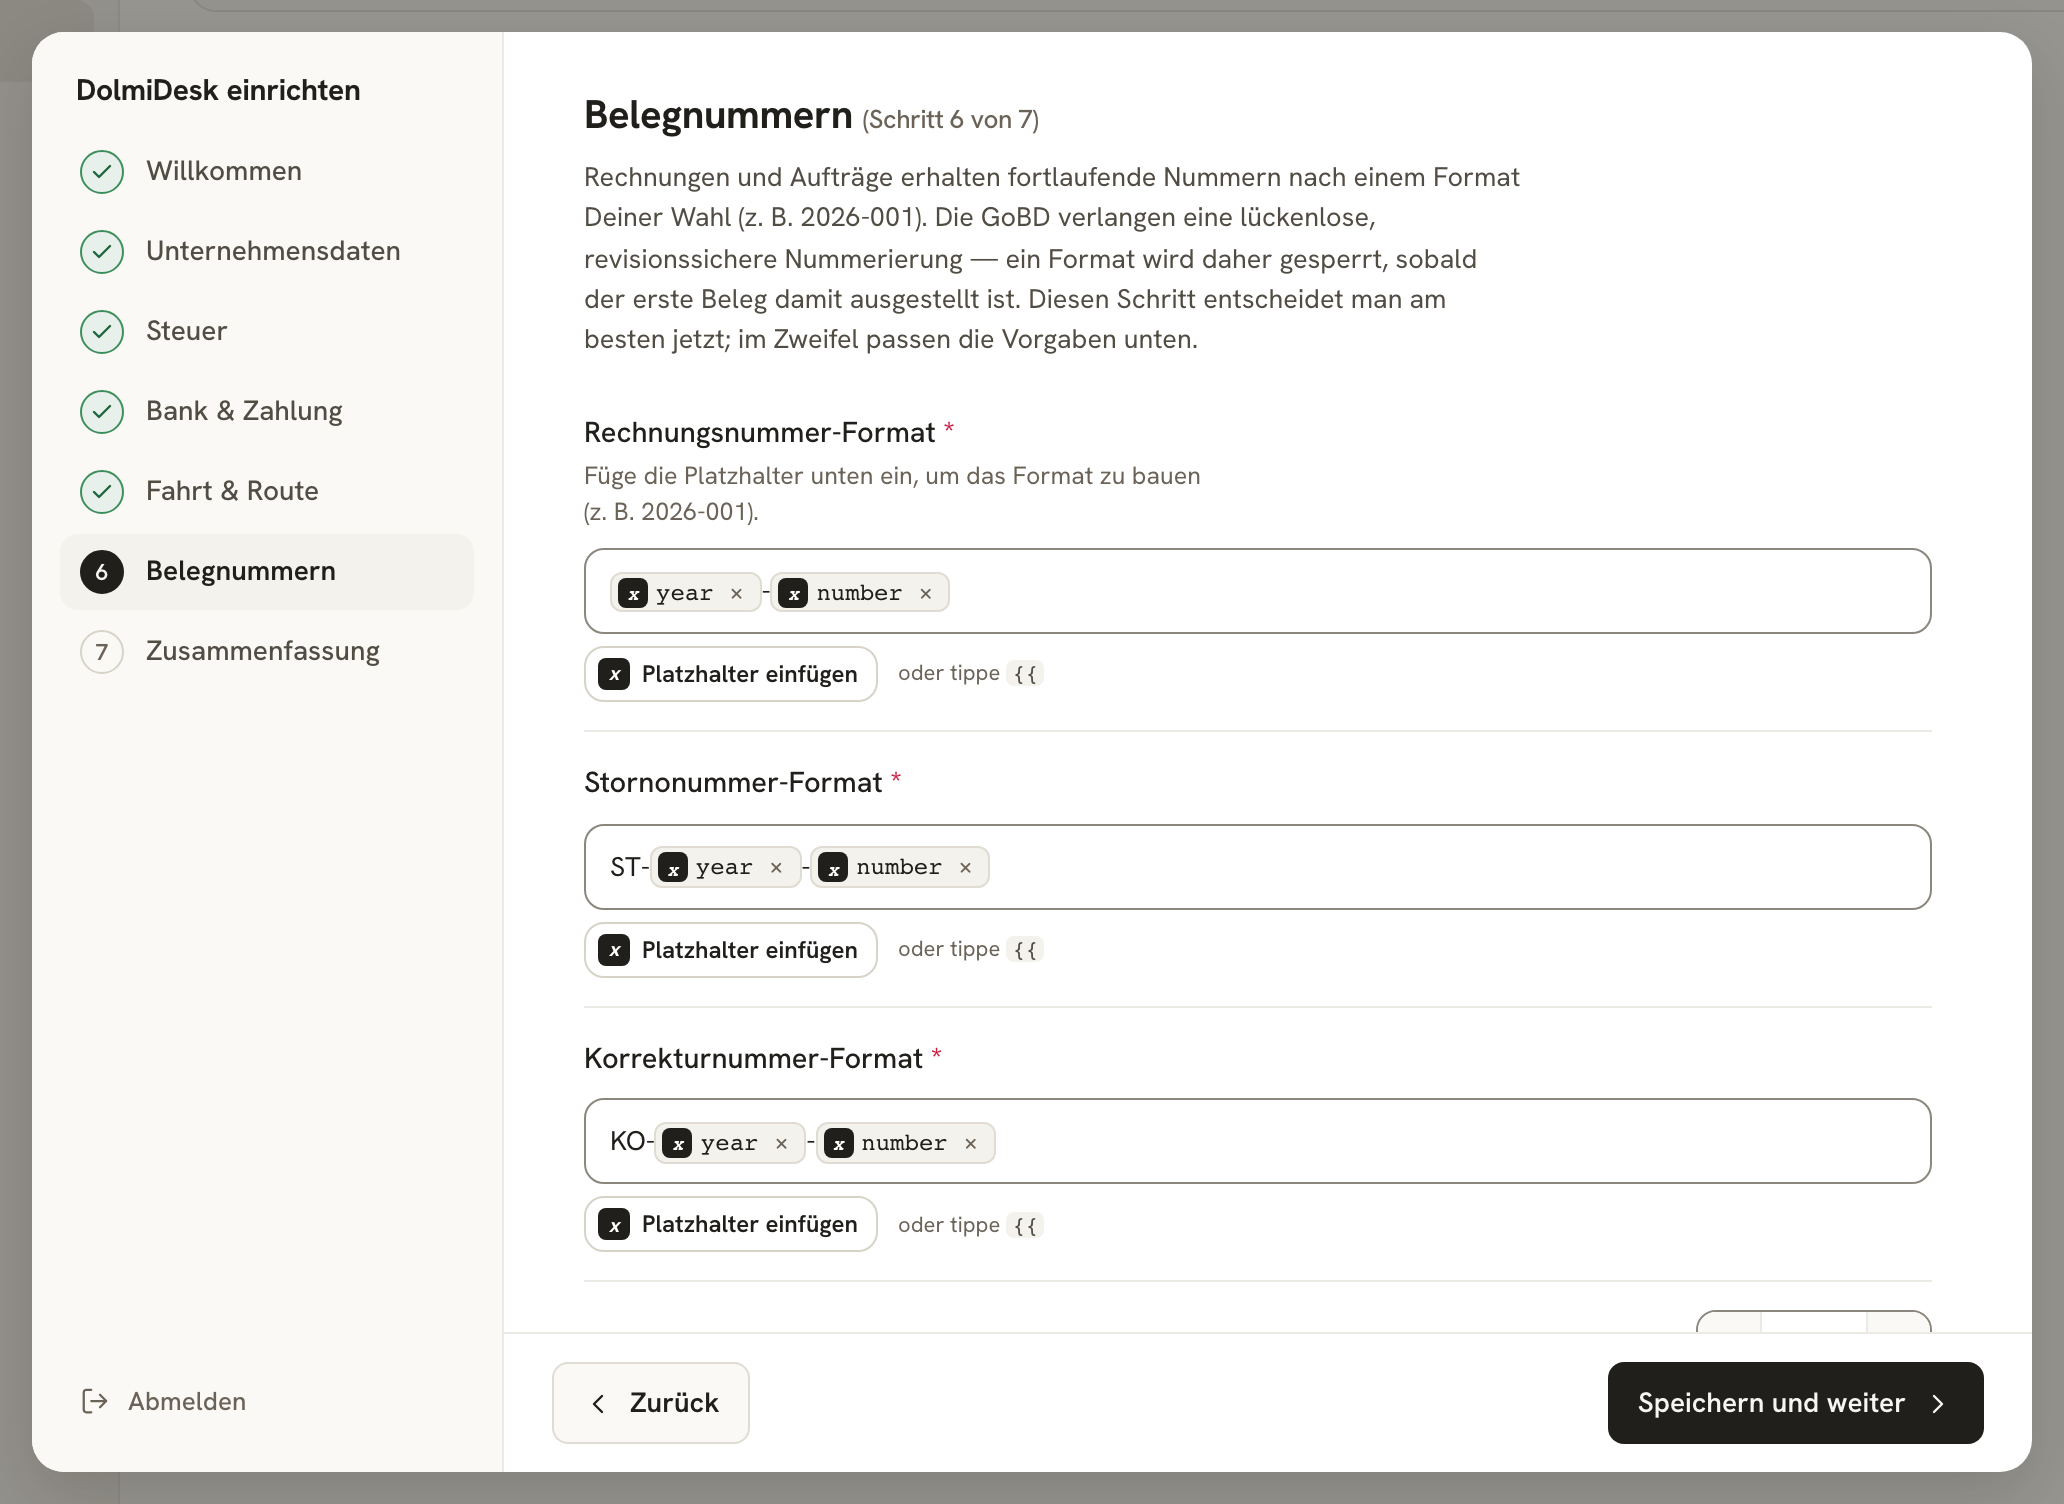
You build number formats by combining fixed text with placeholders (Jahr, Laufende Nummer) – for example, 2026 + - + 001 becomes 2026-001. The defaults work for most people; if you want your own scheme, now is the best time to decide: once the first document has been issued with a given format, that format is locked. The GoBD require this so the numbering sequence stays gapless.
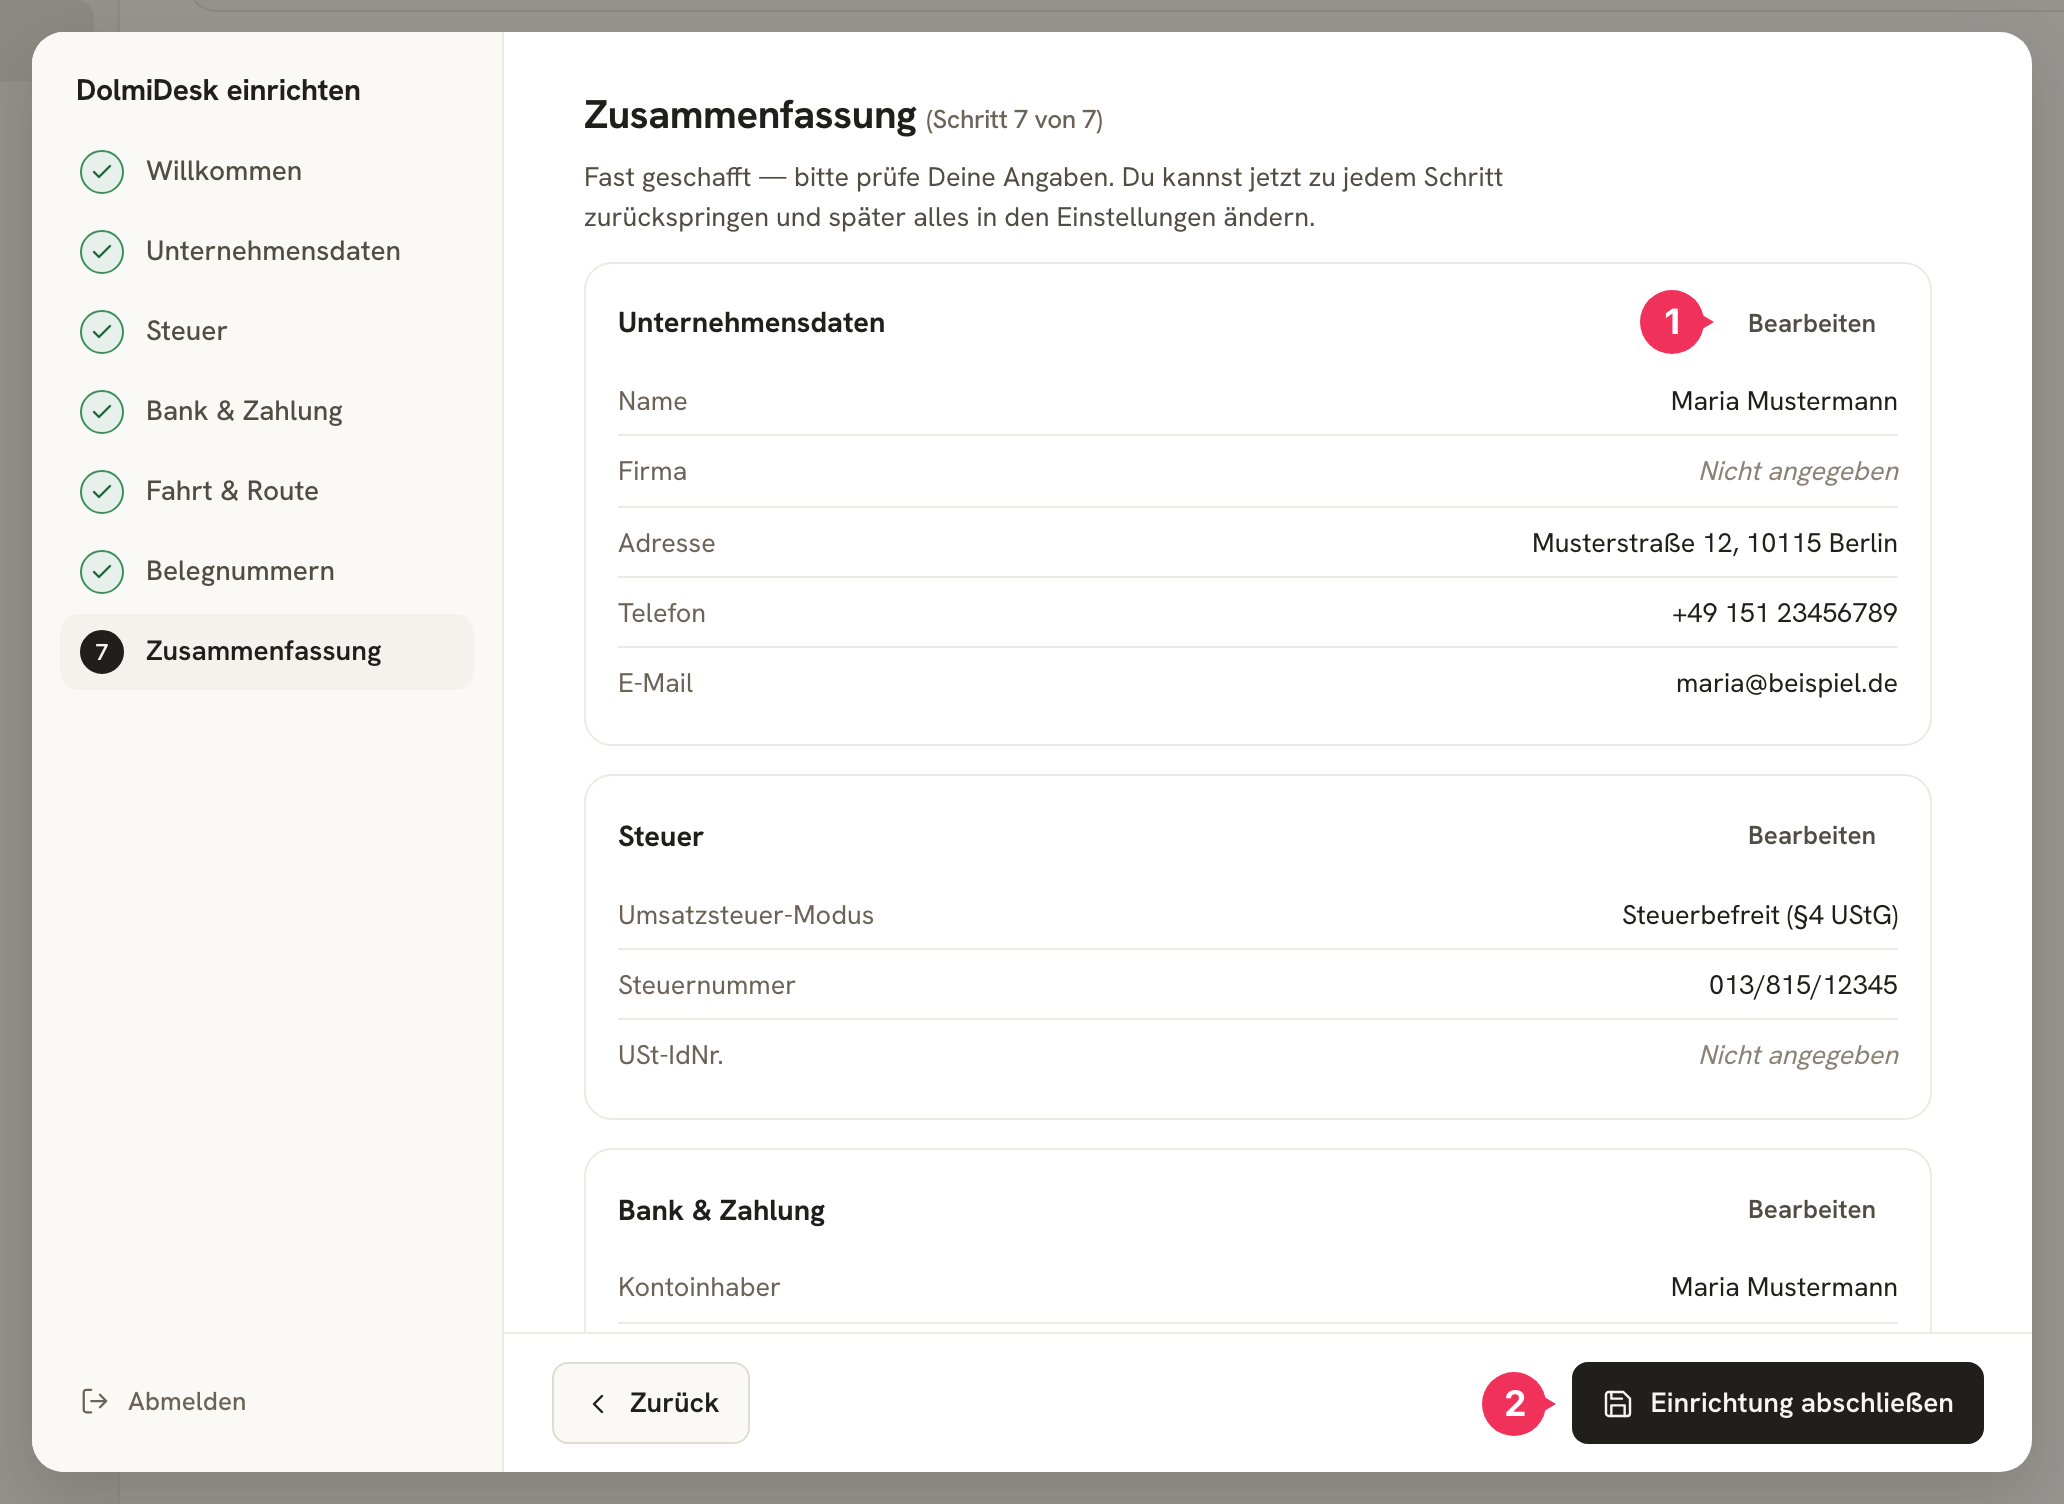
- Review your details. Use Bearbeiten to jump back to a step.
- Click Einrichtung abschließen.
Connecting Your Google Calendar
Your calendar is the source of your Aufträge: whatever's on there as an appointment becomes an Auftrag in DolmiDesk™, and later an invoice. You set up this connection right where you need it – during your first import.

- Open Aufträge and click Importieren.
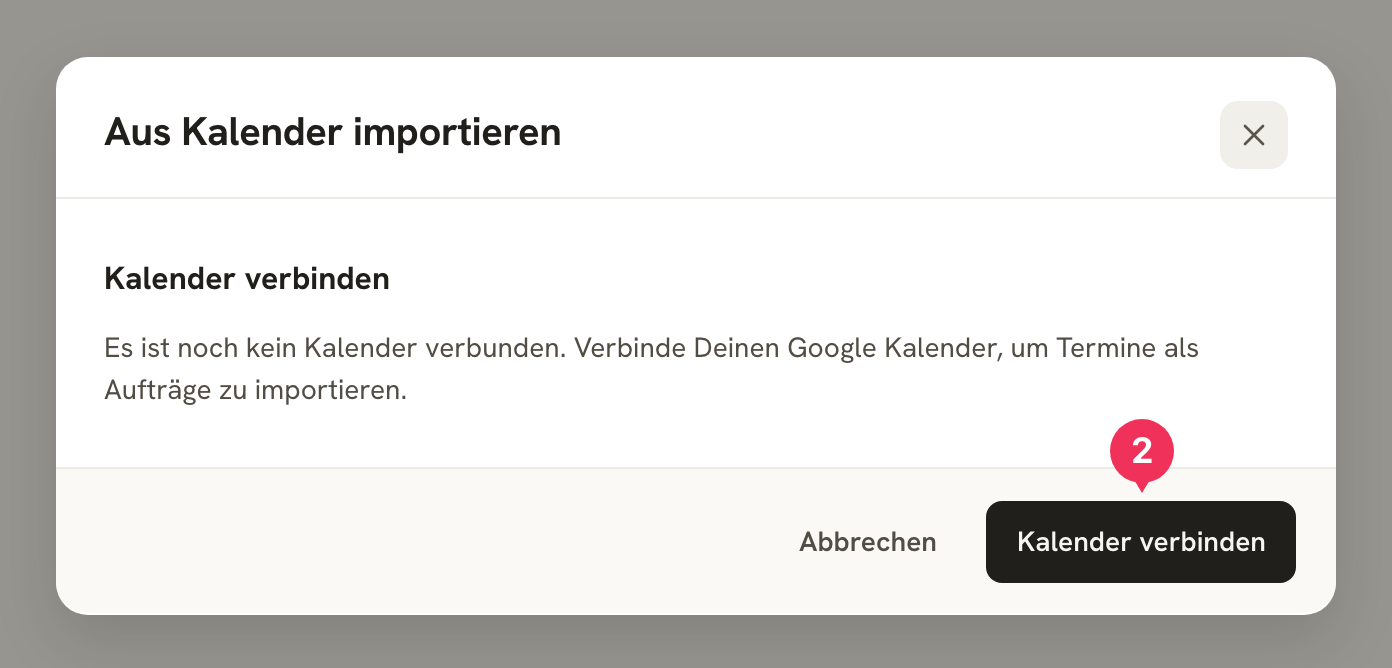
- Click Kalender verbinden.
A window from Google opens. Select the account that holds your appointments there, and confirm access. The window then closes on its own and you're back in DolmiDesk™.
Once connected, you decide what gets imported. You'll find these settings any time under Einstellungen → Konnektoren (Settings → Connectors).
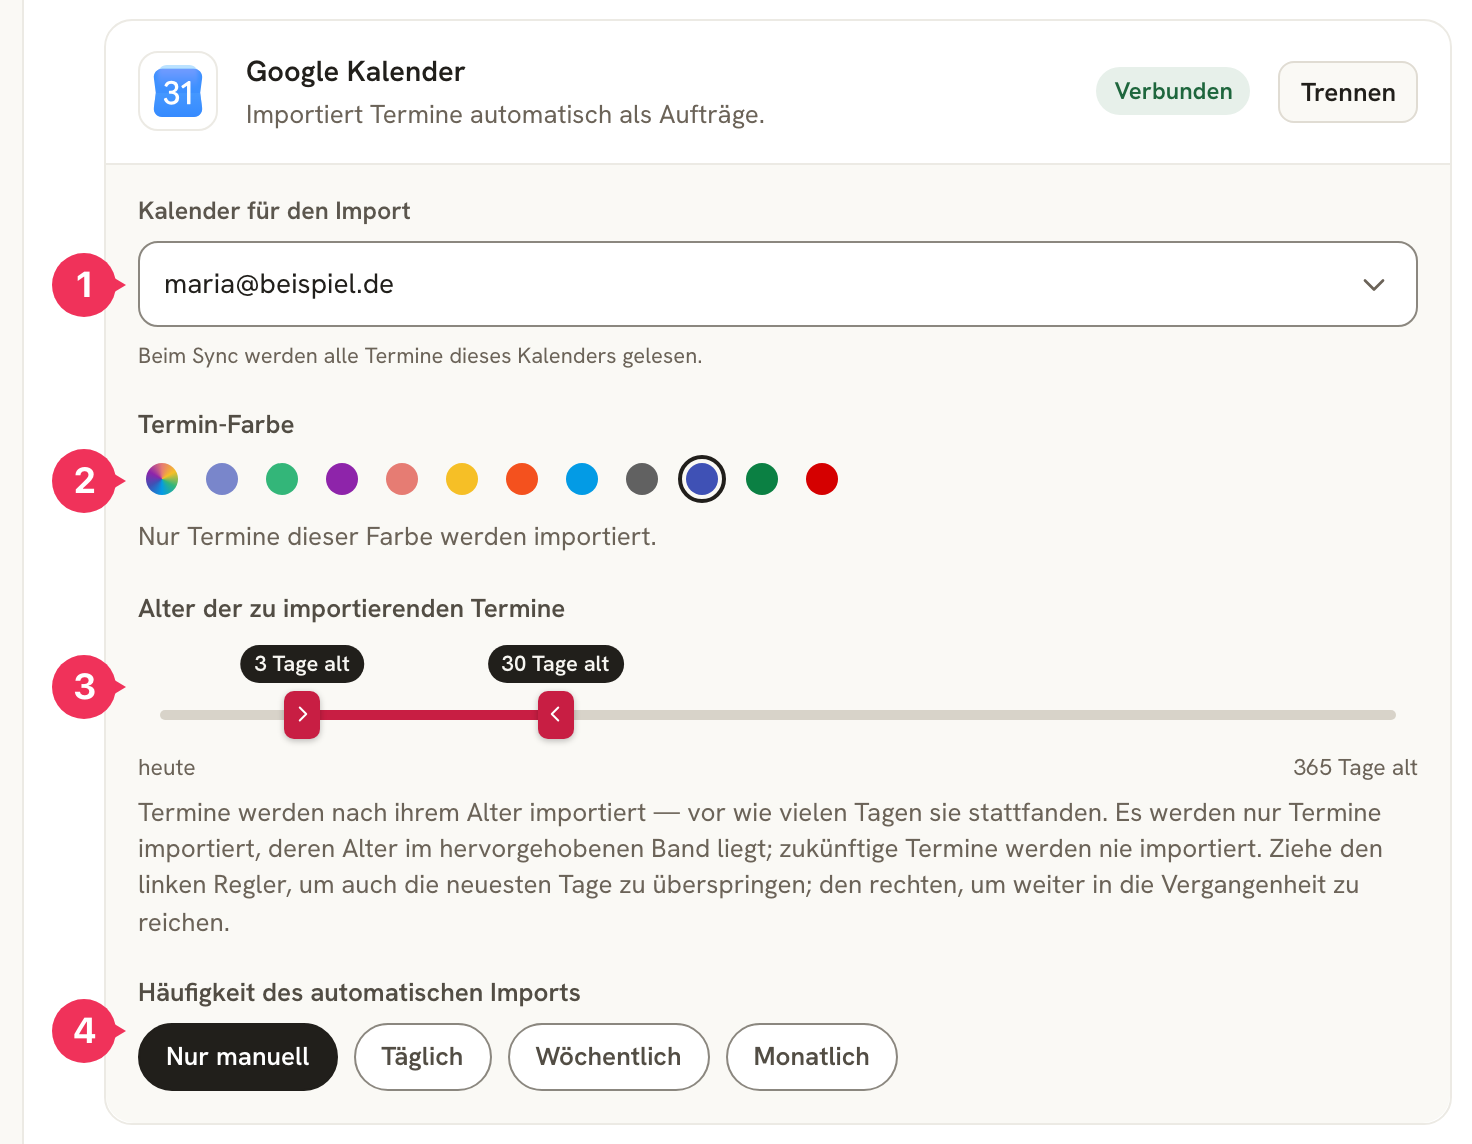
- Kalender für den Import – if you have several calendars, choose the one with your assignments here.
- Termin-Farbe – if you color-code your assignments in Google Calendar, DolmiDesk™ only imports appointments of that color. The colorful dot on the far left means „alle Farben" (all colors).
- Alter der zu importierenden Termine – the time window that's read from. The left slider skips the most recent days (an appointment from yesterday often isn't ready to be billed yet), and the right slider sets how far back in time it searches. Future appointments are never imported.
- Häufigkeit des automatischen Imports – whether DolmiDesk™ checks on its own or only when you click Importieren.
Setting Up Kunden and Kostenträger
Two master data lists determine how an Auftrag is billed:
- Kunden – the people you interpret for. A Kunde comes with a default Kostenträger already attached, so an appointment is immediately matched to the right billing.
- Kostenträger (cost bearer) – whoever actually pays the invoice: court, Integrationsamt, health insurance fund, company. This is where address, salutation, payment term, and billing are attached.
When you create a Kostenträger, you decide in the Abrechnung section which rules generate its invoices:
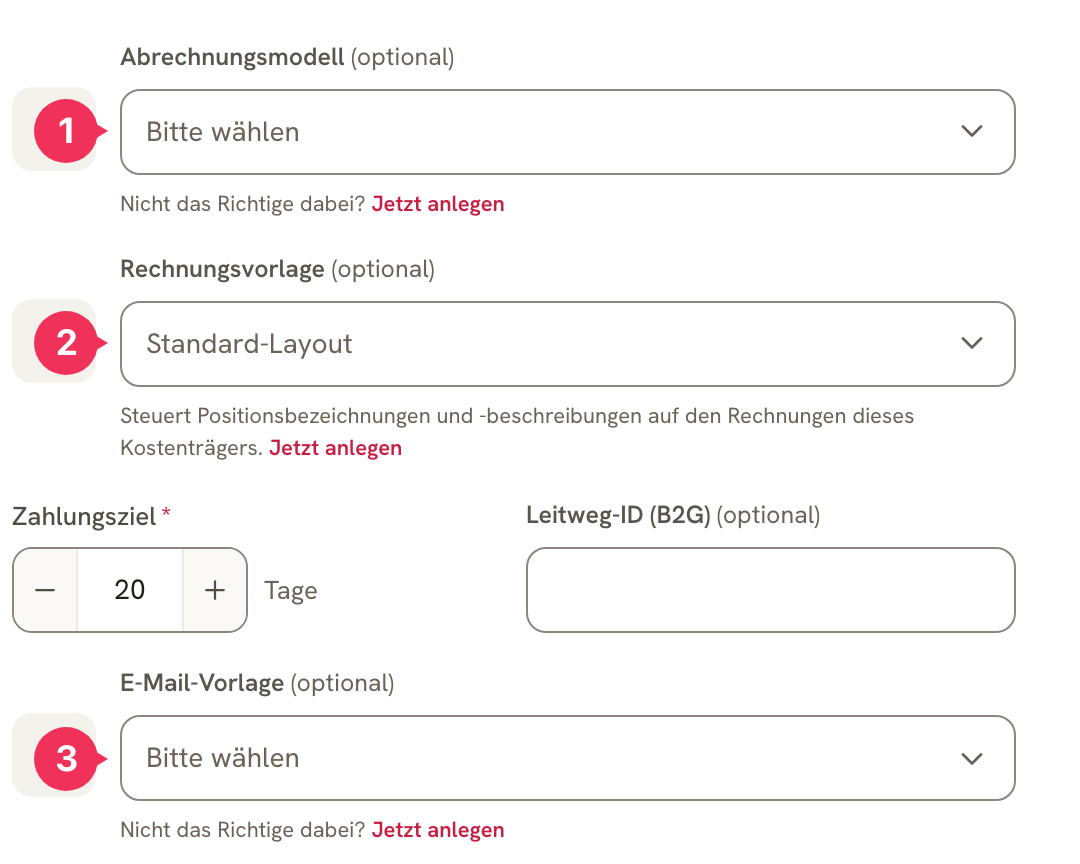
- Abrechnungsmodell (billing model) – the rate logic: hourly rate, travel costs, cancellation rules.
- Rechnungsvorlage (invoice template) – how line items are named and described on the invoice.
- E-Mail-Vorlage (email template) – the text used to send the invoice.
If nothing in one of the lists fits, you can create the entry via Jetzt anlegen directly from the form, without losing what you've already entered.
Checking Your Abrechnungsmodelle
DolmiDesk™ already comes with the common rule sets built in – you don't have to type in rates by hand.
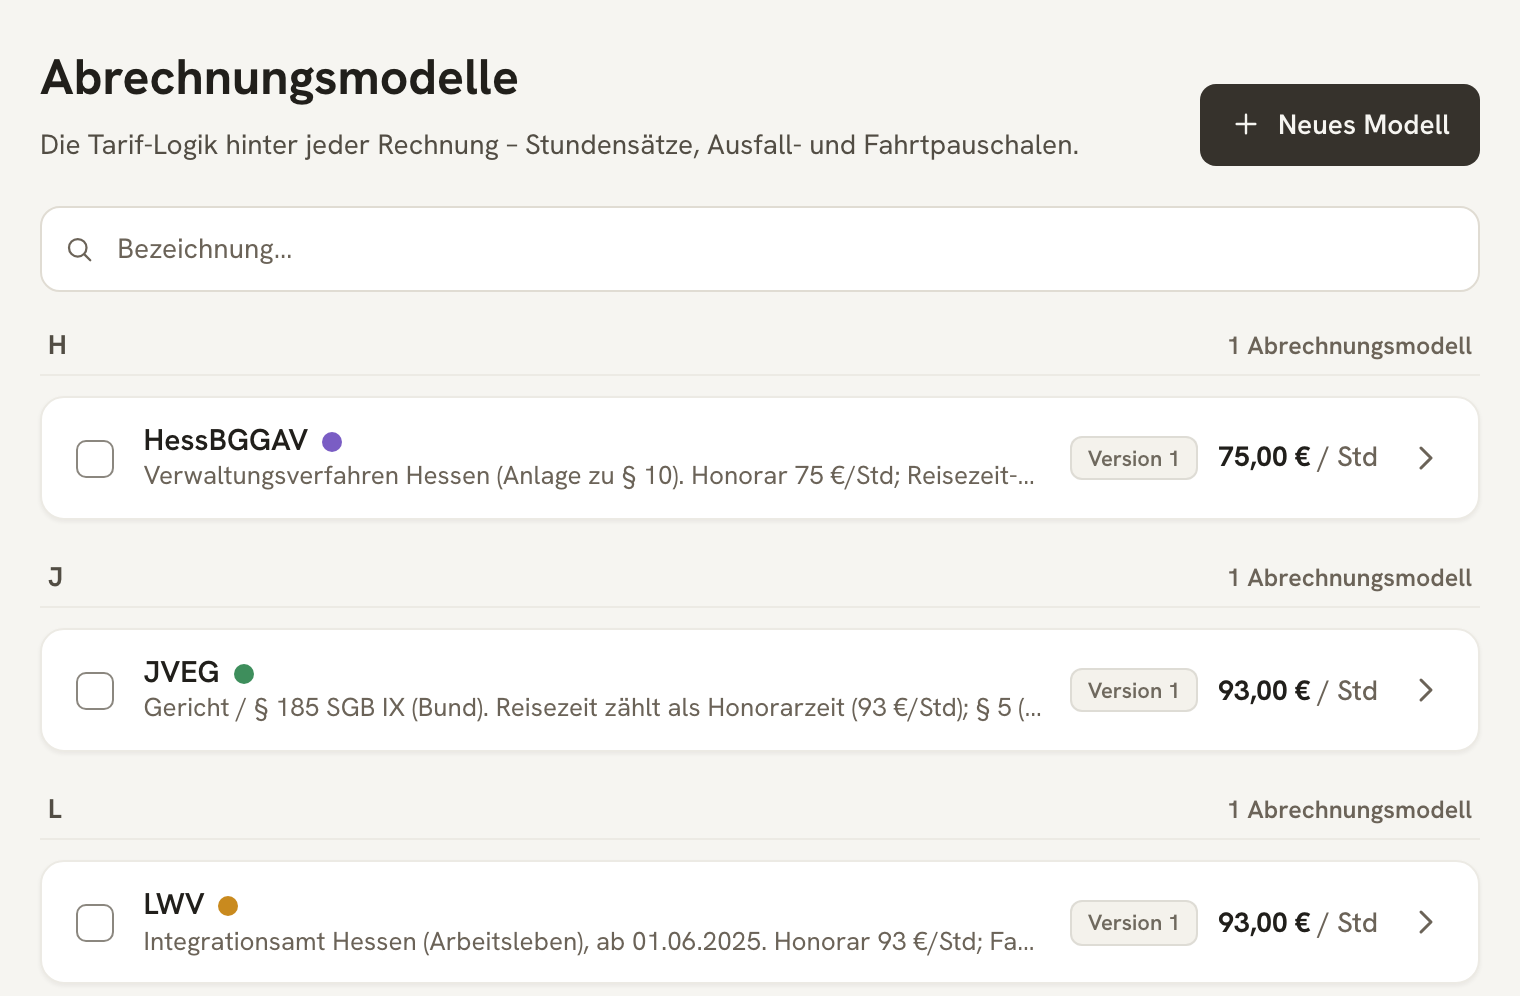
- JVEG – court and § 185 SGB IX (federal): travel time counts as billable time, mileage rate per § 5 Abs. 2.
- LWV – Hesse Integrationsamt (working life): flat travel-time rate based on total distance, online flat rate.
- HessBGGAV – administrative proceedings in Hesse: flat travel-time rate based on one-way distance, mileage rate per HRKG.
Take a look inside and compare the rates with what you actually bill – fees change over time, and your own agreements may differ. You can adjust everything without any programming knowledge; how the individual building blocks work together is explained in the Abrechnungsmodelle chapter.
Checking Your Invoice and Email Templates
Last but not least: how your documents look and how they get sent. Here too, templates are already set up to match the built-in Abrechnungsmodelle.
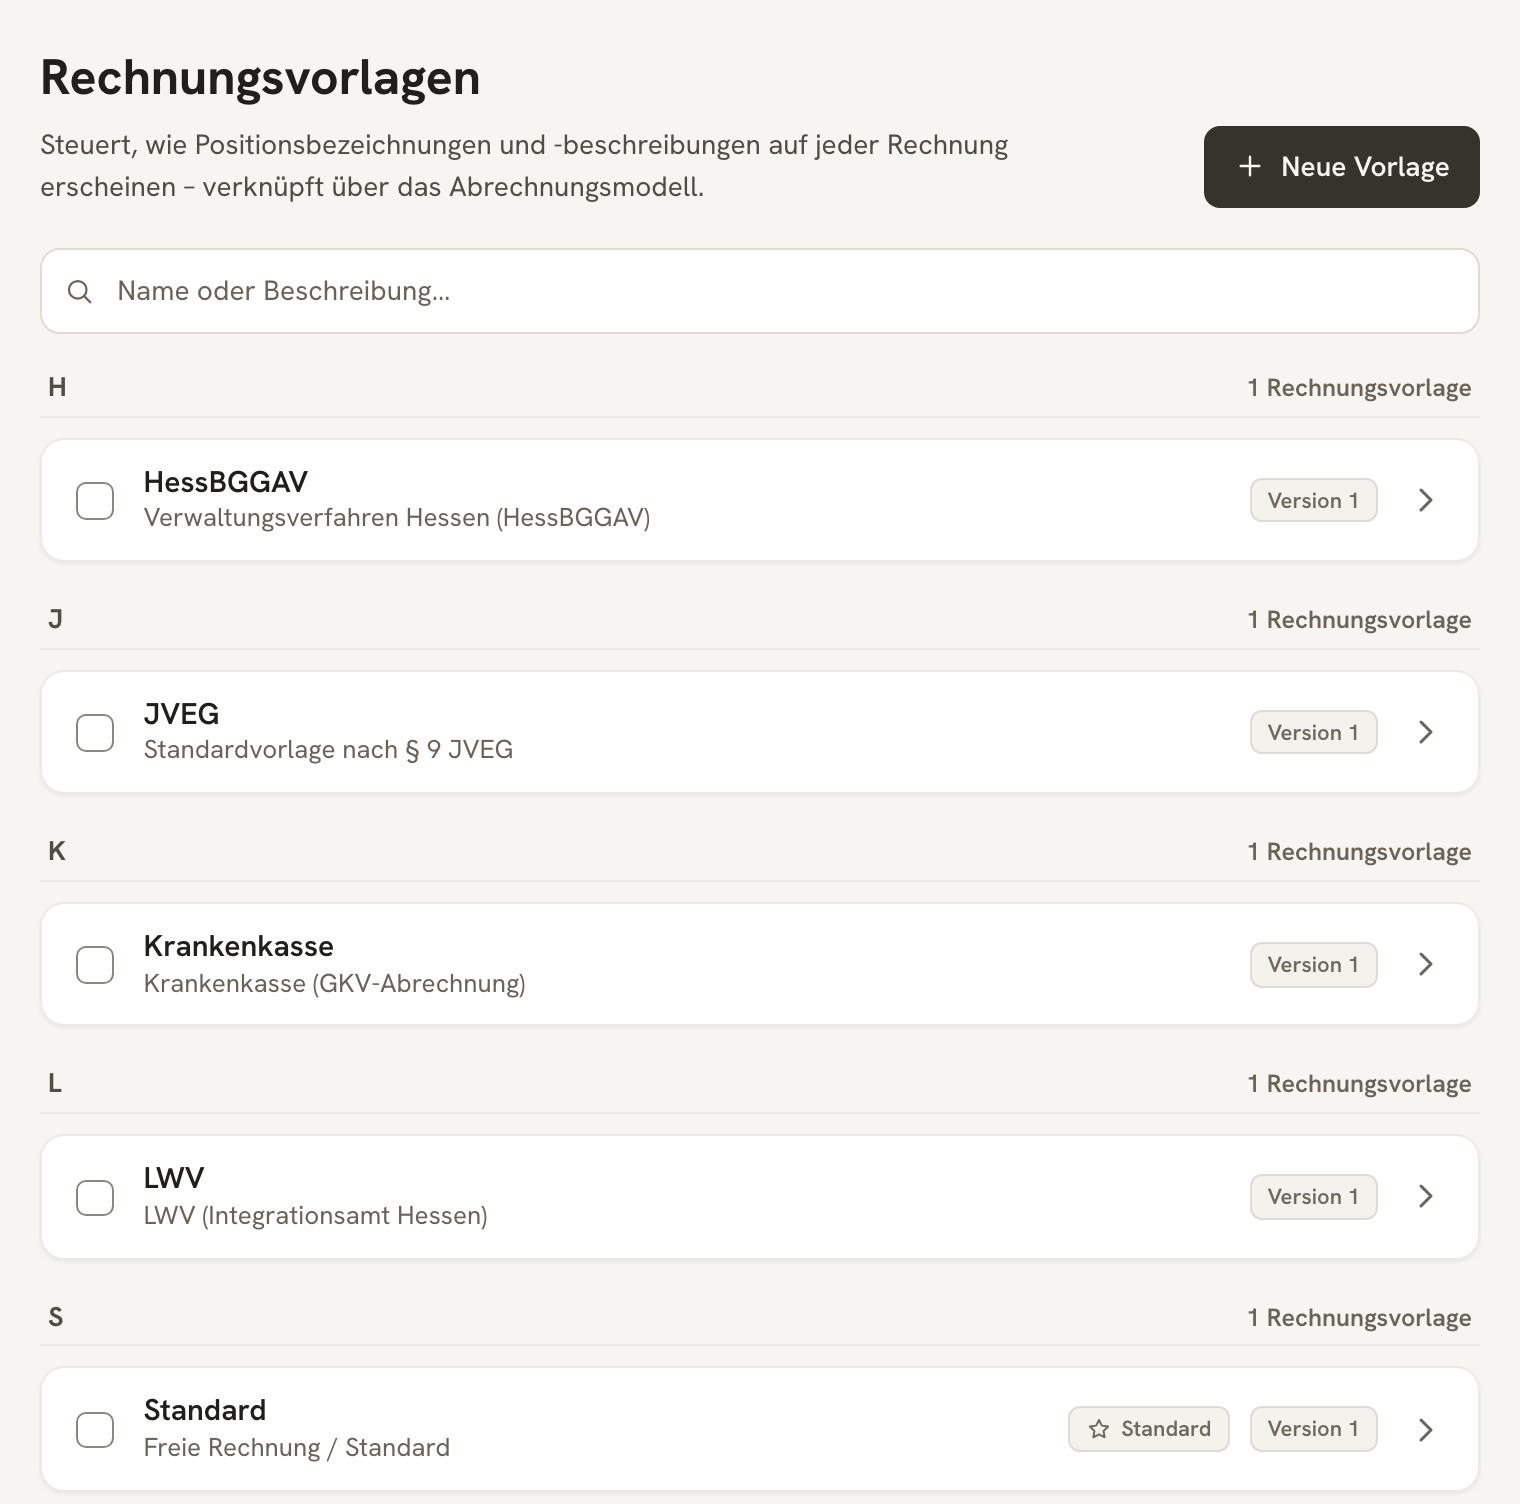
A Rechnungsvorlage controls the text on the invoice: what a line item is called, what its description says, which notes appear below the total. It's attached to the Kostenträger – so a court gets a different line-item label than a health insurance fund.
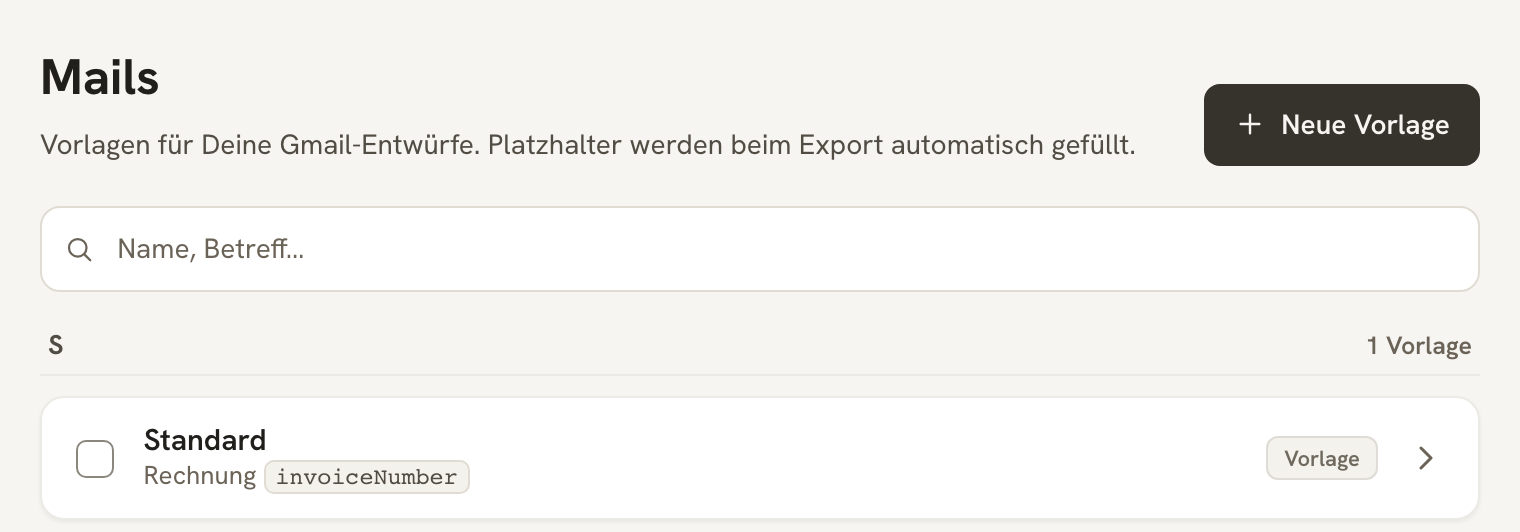
A Mail-Vorlage supplies the subject and body of the email that sends the invoice out. Placeholders like the invoice number are filled in automatically when it's sent. Read through the Standard template once and adjust the salutation and sign-off to match your tone – it goes out to your Kostenträger just as it is.
About the author